Even experienced candle makers encounter challenges. This comprehensive troubleshooting guide will help you identify, diagnose, and solve common candle making problems to achieve professional results consistently.
Surface Appearance Issues
Many candle problems are visible on the surface after cooling:
Sinkholes and Cavities
Problem: Depressions or holes forming in the center of the candle as it cools.
Causes:
- Wax cooling too quickly
- Improper pouring temperature
- Container cooling unevenly
Solutions:
- Use a heat gun to gently warm the surface and level
- Pour at the correct temperature (refer to our temperature guide)
- Pre-warm containers before pouring
- Consider a second pour to fill in depressions
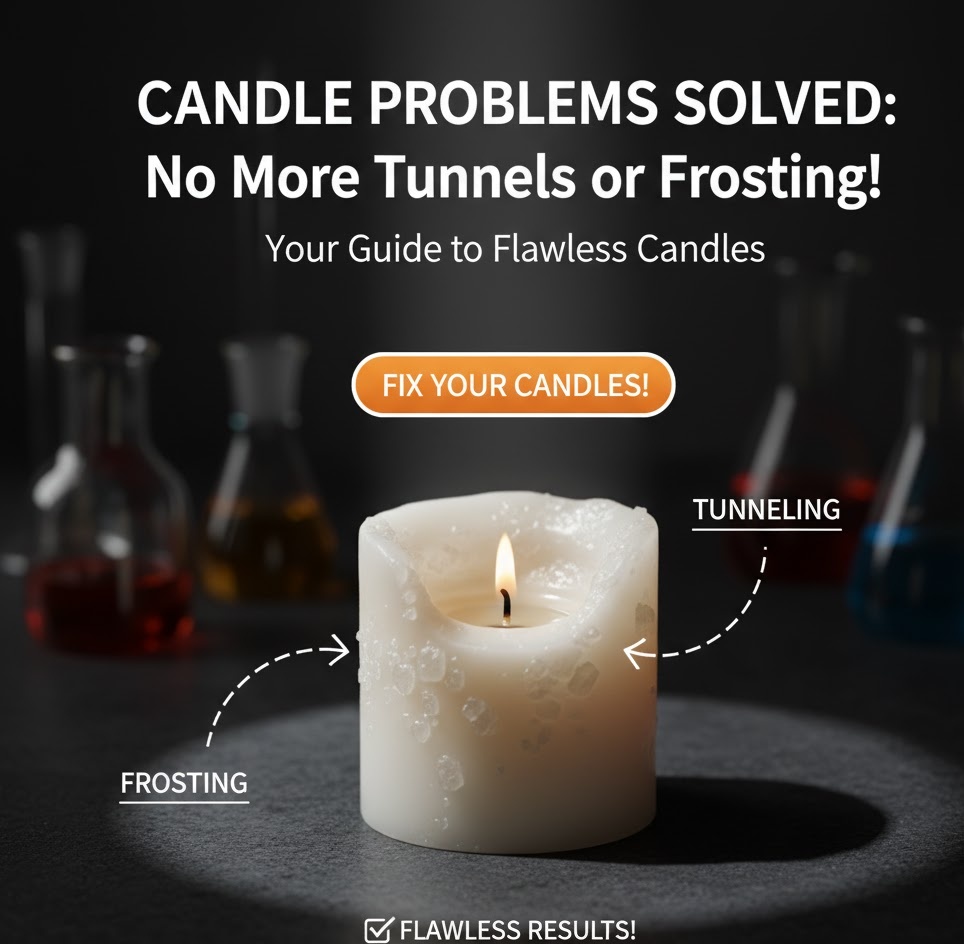
Frosting
Problem: White, crystalline appearance on the surface or sides of the candle.
Causes:
- Natural characteristic of soy and other plant waxes
- Rapid temperature changes during cooling
- High oil content in wax
Solutions:
- Control cooling environment temperature
- Add small percentage (1-4%) of compatible additives like coconut oil
- Pour at optimal temperature
- Consider embracing frosting as a natural characteristic of plant-based waxes
Burning Performance Issues
How your candle burns is the ultimate test of quality:
Tunneling
Problem: Candle burns straight down the middle, leaving wax along the container walls.
Causes:
- Wick too small for container diameter
- Insufficient initial burn time
- Draft affecting flame
Solutions:
- Select appropriate wick size for container diameter
- Educate customers on proper first burn (1 hour per inch of container diameter)
- Consider multiple wicks for containers over 3 inches in diameter
For detailed guidance on selecting the perfect wick for any container, see our candle wick size chart.
Poor Scent Throw
Problem: Weak fragrance release during burning.
Causes:
- Insufficient fragrance load
- Improper fragrance addition temperature
- Incompatible fragrance/wax combination
- Wick too small to create proper melt pool
Solutions:
- Optimize fragrance load percentage (see our fragrance load guide)
- Add fragrance at manufacturer-recommended temperature
- Test different fragrance oils designed for your specific wax type
- Ensure proper wick sizing for complete melt pool formation
Mushrooming
Problem: Carbon buildup on wick tip, resembling a mushroom shape.
Causes:
- Wick too large for container
- Excessive fragrance load
- Drafts causing uneven burning
Solutions:
- Trim wick to ¼ inch before each lighting
- Select smaller wick size
- Review fragrance percentage (higher loads require special consideration)
Container and Adhesion Issues
Problems with how wax interacts with your container:
Wet Spots
Problem: Air pockets between wax and container, appearing as "wet" spots.
Causes:
- Rapid cooling causing wax to pull away from glass
- Container temperature too cool when pouring
- Inadequate container preparation
Solutions:
- Pre-warm containers before pouring
- Control cooling environment temperature
- Pour at proper temperature
For more information on container preparation and selection, visit our container selection guide.
Wax Shrinkage
Problem: Wax pulling away from container sides as it cools.
Causes:
- Natural contraction of wax during cooling
- Pouring temperature too high
- Rapid temperature changes
Solutions:
- Pour at lower temperature
- Add small percentage of vybar or other additives
- Use heat gun to warm container sides during cooling
- Consider second pour to fill gaps
Advanced Troubleshooting Techniques
Scientific approaches to diagnosing and solving candle problems:
Systematic Testing Protocol
- Make single variable changes at a time
- Keep detailed records of all test batches
- Document testing conditions and environment
- Test burn for at least 4 hours per trial
- Wait 48-72 hours after production before testing
Using Test Equipment
- Digital thermometers for precise temperature control
- Scale for accurate measurements
- Camera for documentation
- Burn time recorder for performance testing
Frequently Asked Questions
Why are there white spots on my candles?
White spots or frosting are a natural characteristic of plant-based waxes like soy. They occur due to the crystalline structure of the wax and don't affect burning performance. You can minimize them with temperature control during cooling.
How can I prevent my candles from cracking?
Cracking typically occurs from rapid temperature changes. Pour at the recommended temperature, avoid drafts during cooling, and consider using a heat gun to warm the surface as it starts to set.
Why is there a ring of unmelted wax around my container?
This "memory ring" occurs when the candle isn't burned long enough during the first use. Educate customers to burn candles until the melt pool reaches the container edges on the first lighting.
Perfect Your Candle Formula
Use our professional calculator to ensure your candles have the optimal ratios of wax, fragrance, and additives to minimize common issues.
Try our Wax Calculator →